Using Volumes
Volumes allow you to store persistent data for services on CloudStation.
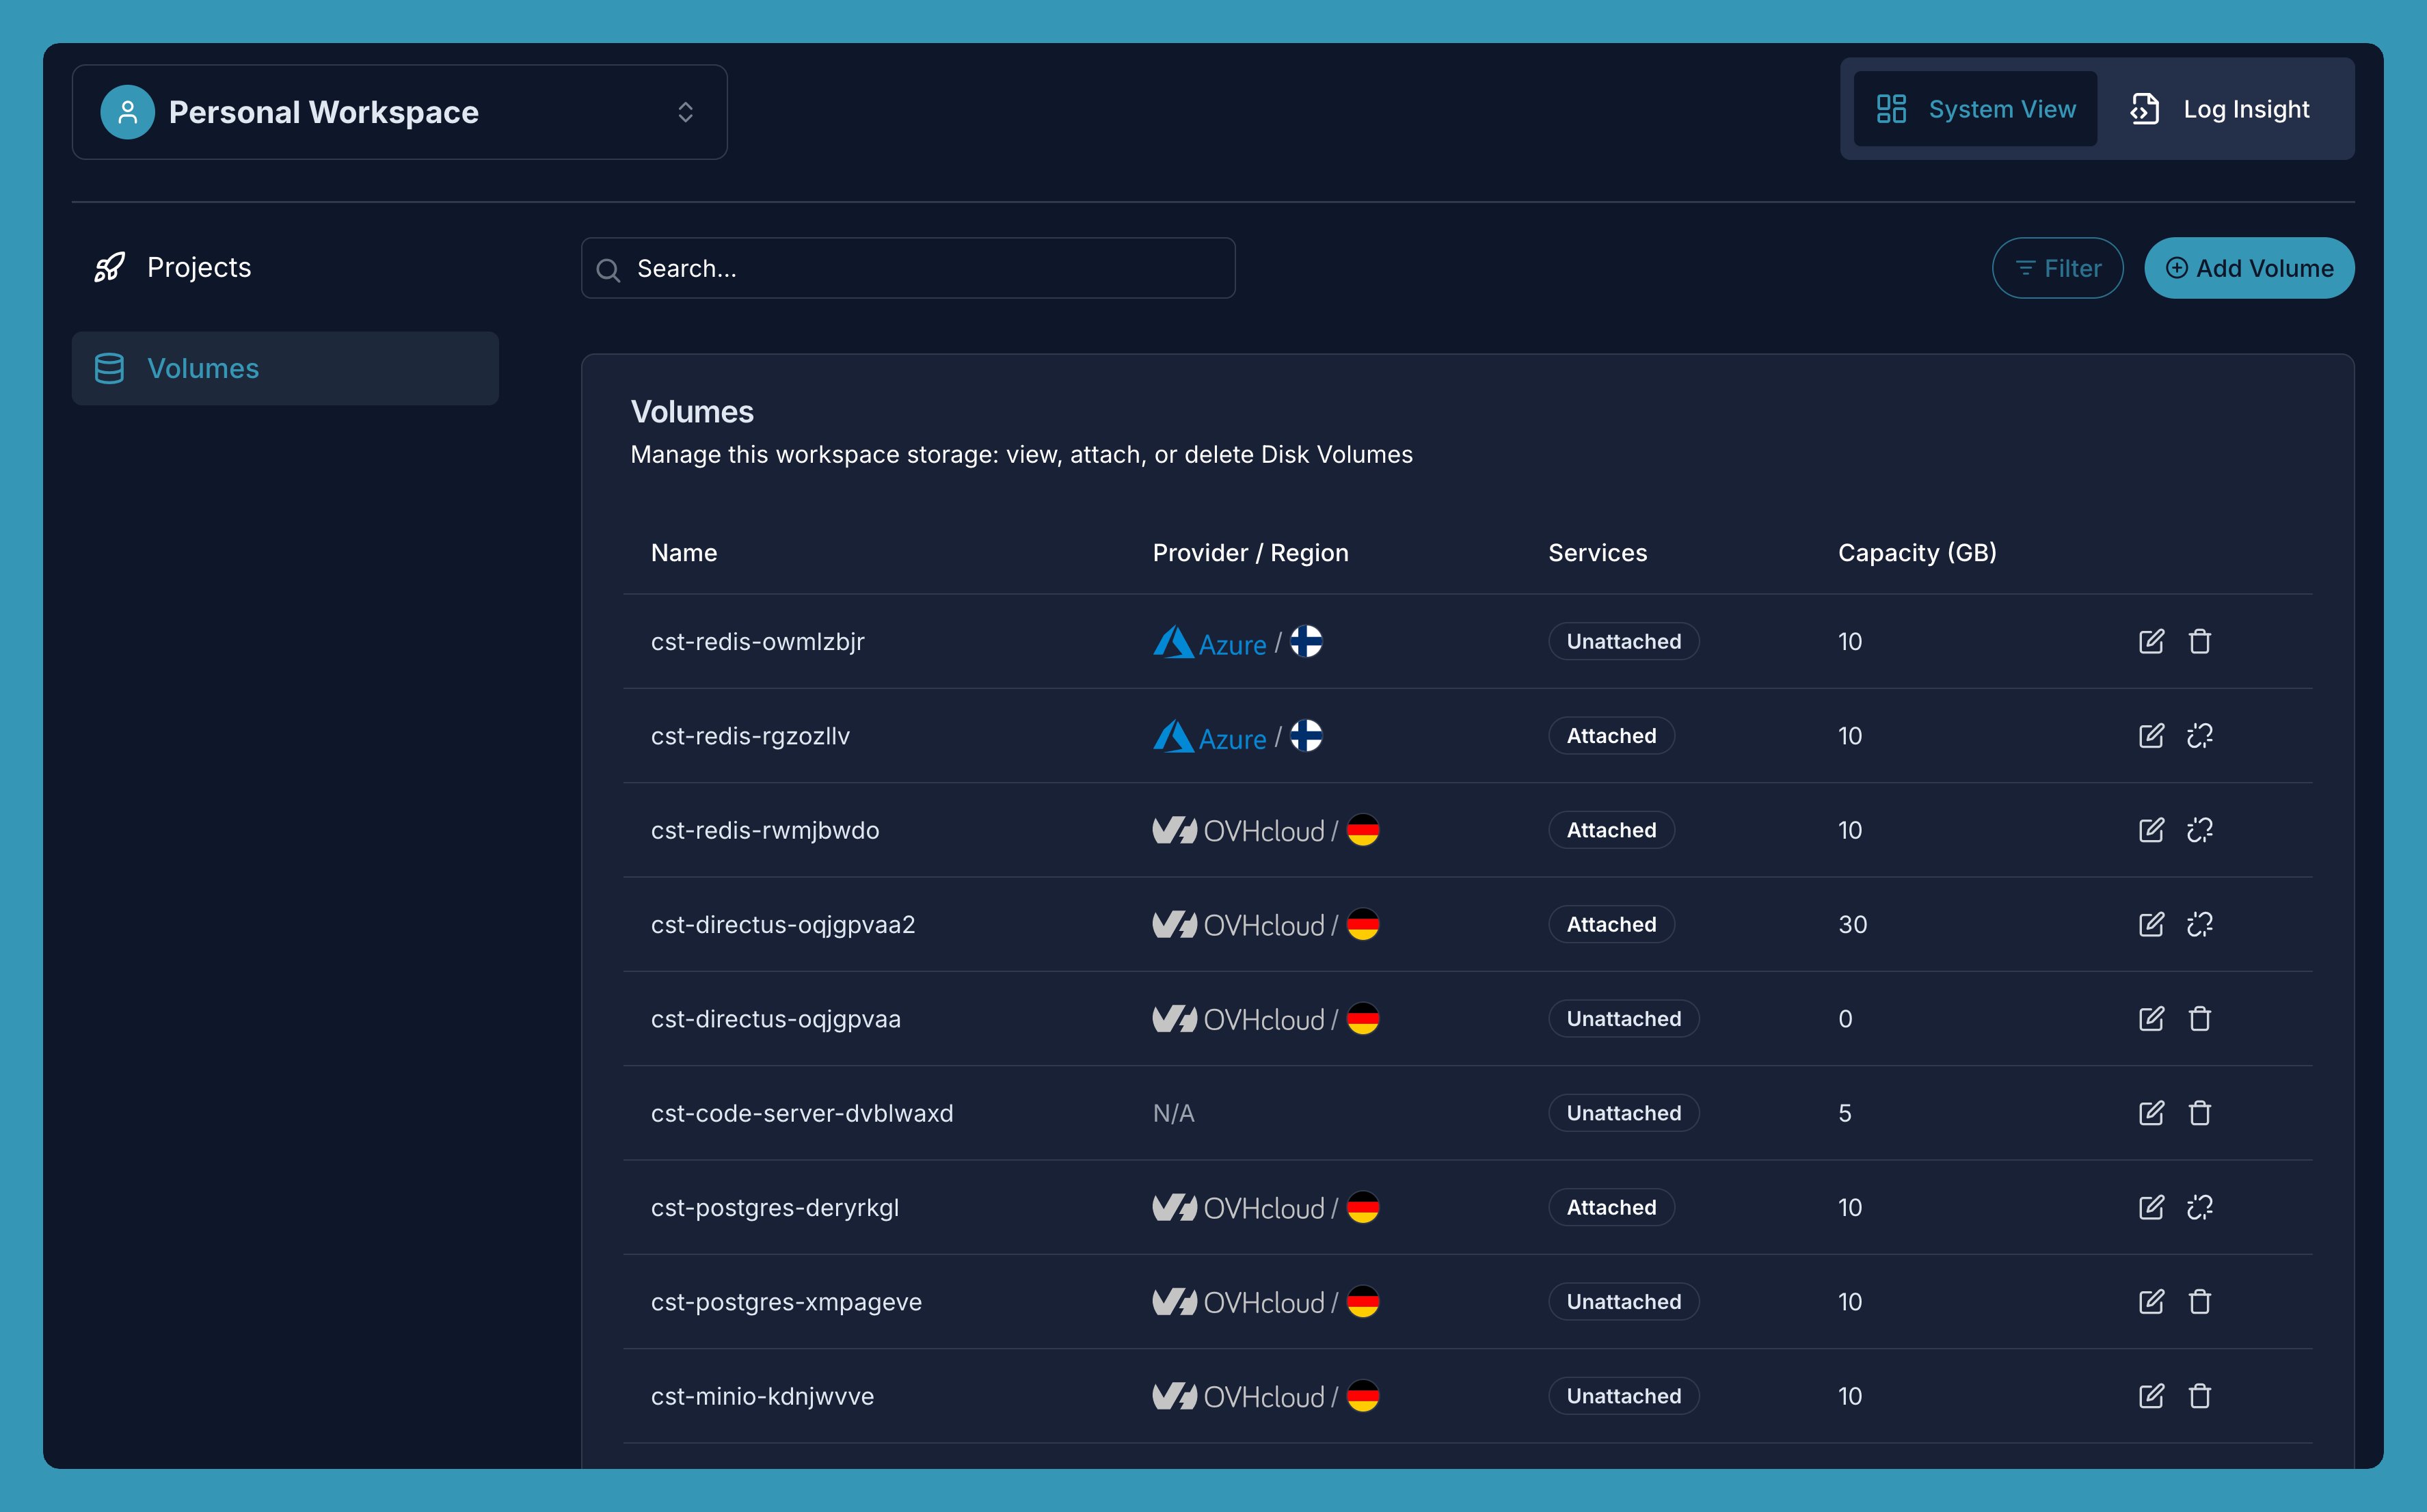
Creating A Volume
You can create a new volume through the Add Volume button:
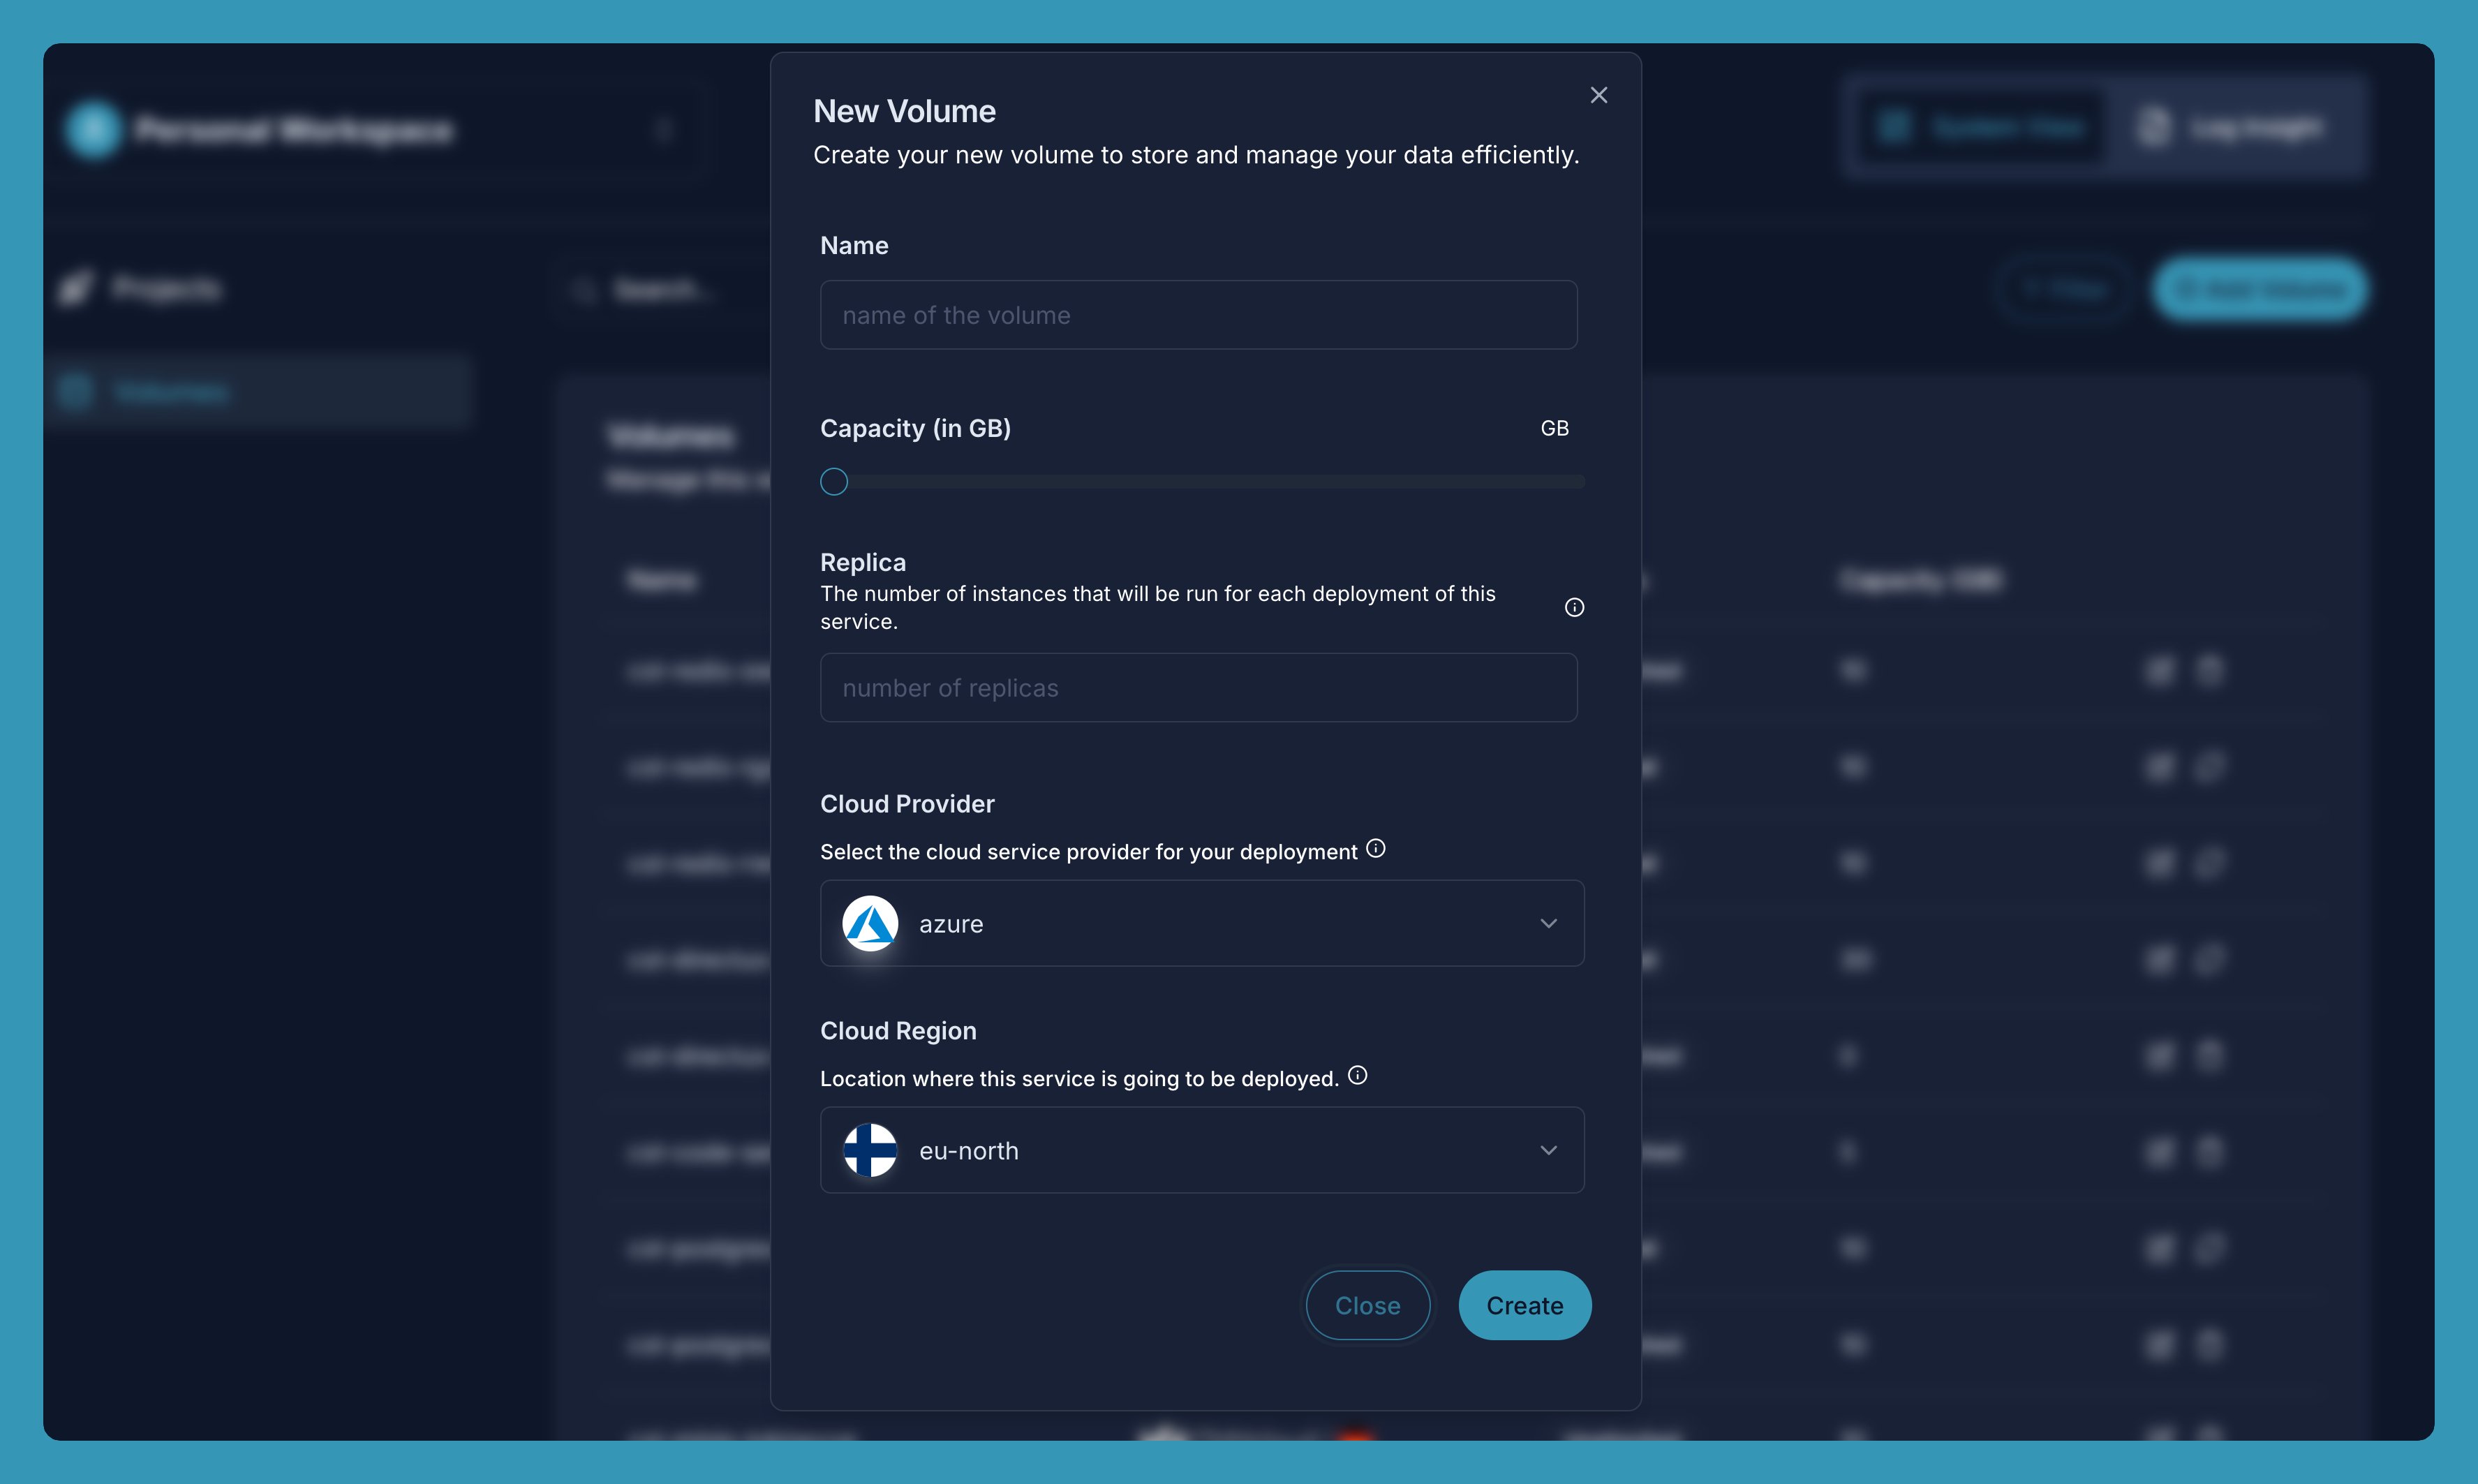
Steps to Create a New Volume
Provide Volume Details:
- Name: Enter a unique name for the volume to help identify it easily.
- Capacity: Use the slider or input field to specify the required storage capacity in GB.
- Replicas: Specify the number of replicas. Replicas determine how many instances of this volume will run to ensure redundancy and fault tolerance.
Choose Cloud Provider:
- From the drop-down menu, select the cloud service provider (e.g., Azure). This determines where your volume will be hosted.
Select Cloud Region:
- Choose the geographical region for deployment (e.g., eu-north). Picking the right region is important for optimizing latency and complying with regional regulations.
Review and Create:
- Double-check the provided details.
- Click the Create button to finalize the volume creation process.
Editing a Volume
To edit a volume, click on the volume edit icon button to open the edit modal.
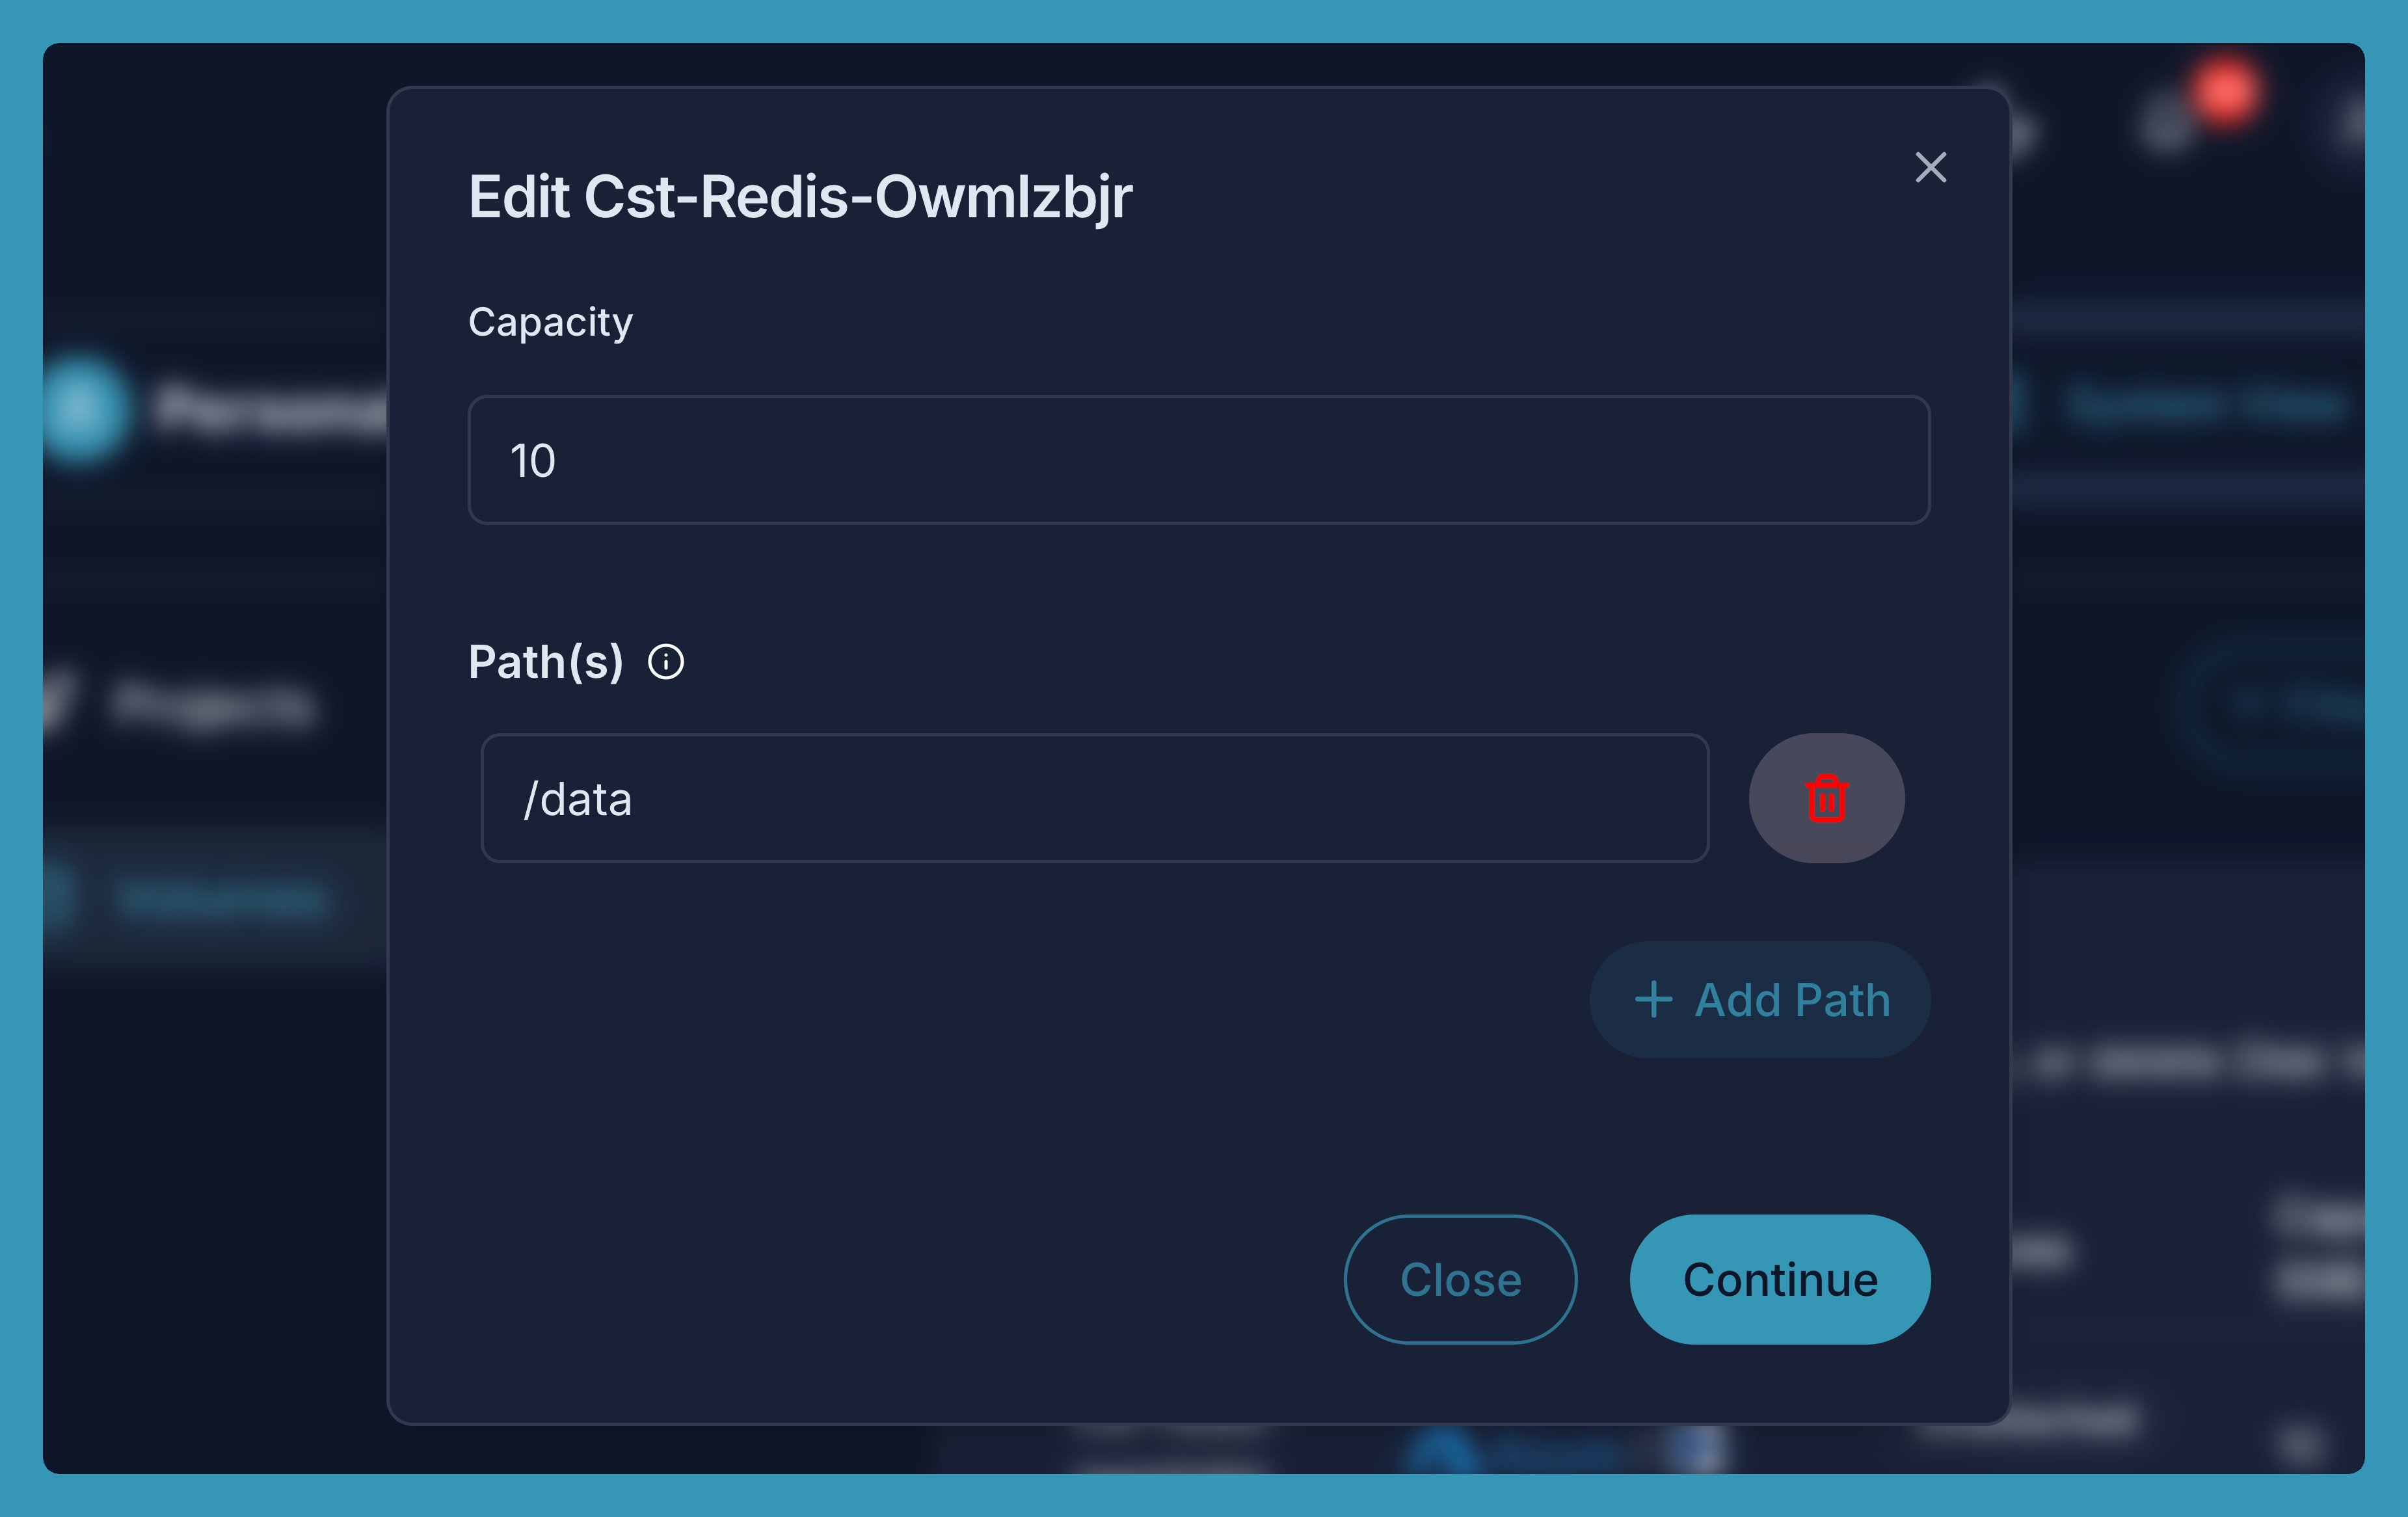
Modify Volume Details:
- Capacity: Adjust the volume capacity (in GB) to match your updated storage requirements.
- Path(s): Add or modify the mount paths where the volume will be accessible.
Effect of Editing:
The updated capacity and paths will be applied to the volume without disrupting the associated services. These changes ensure the volume meets your latest application requirements.
Detach a Volume
To detach a volume from a service, click on the volume detach icon button to open the detach modal.
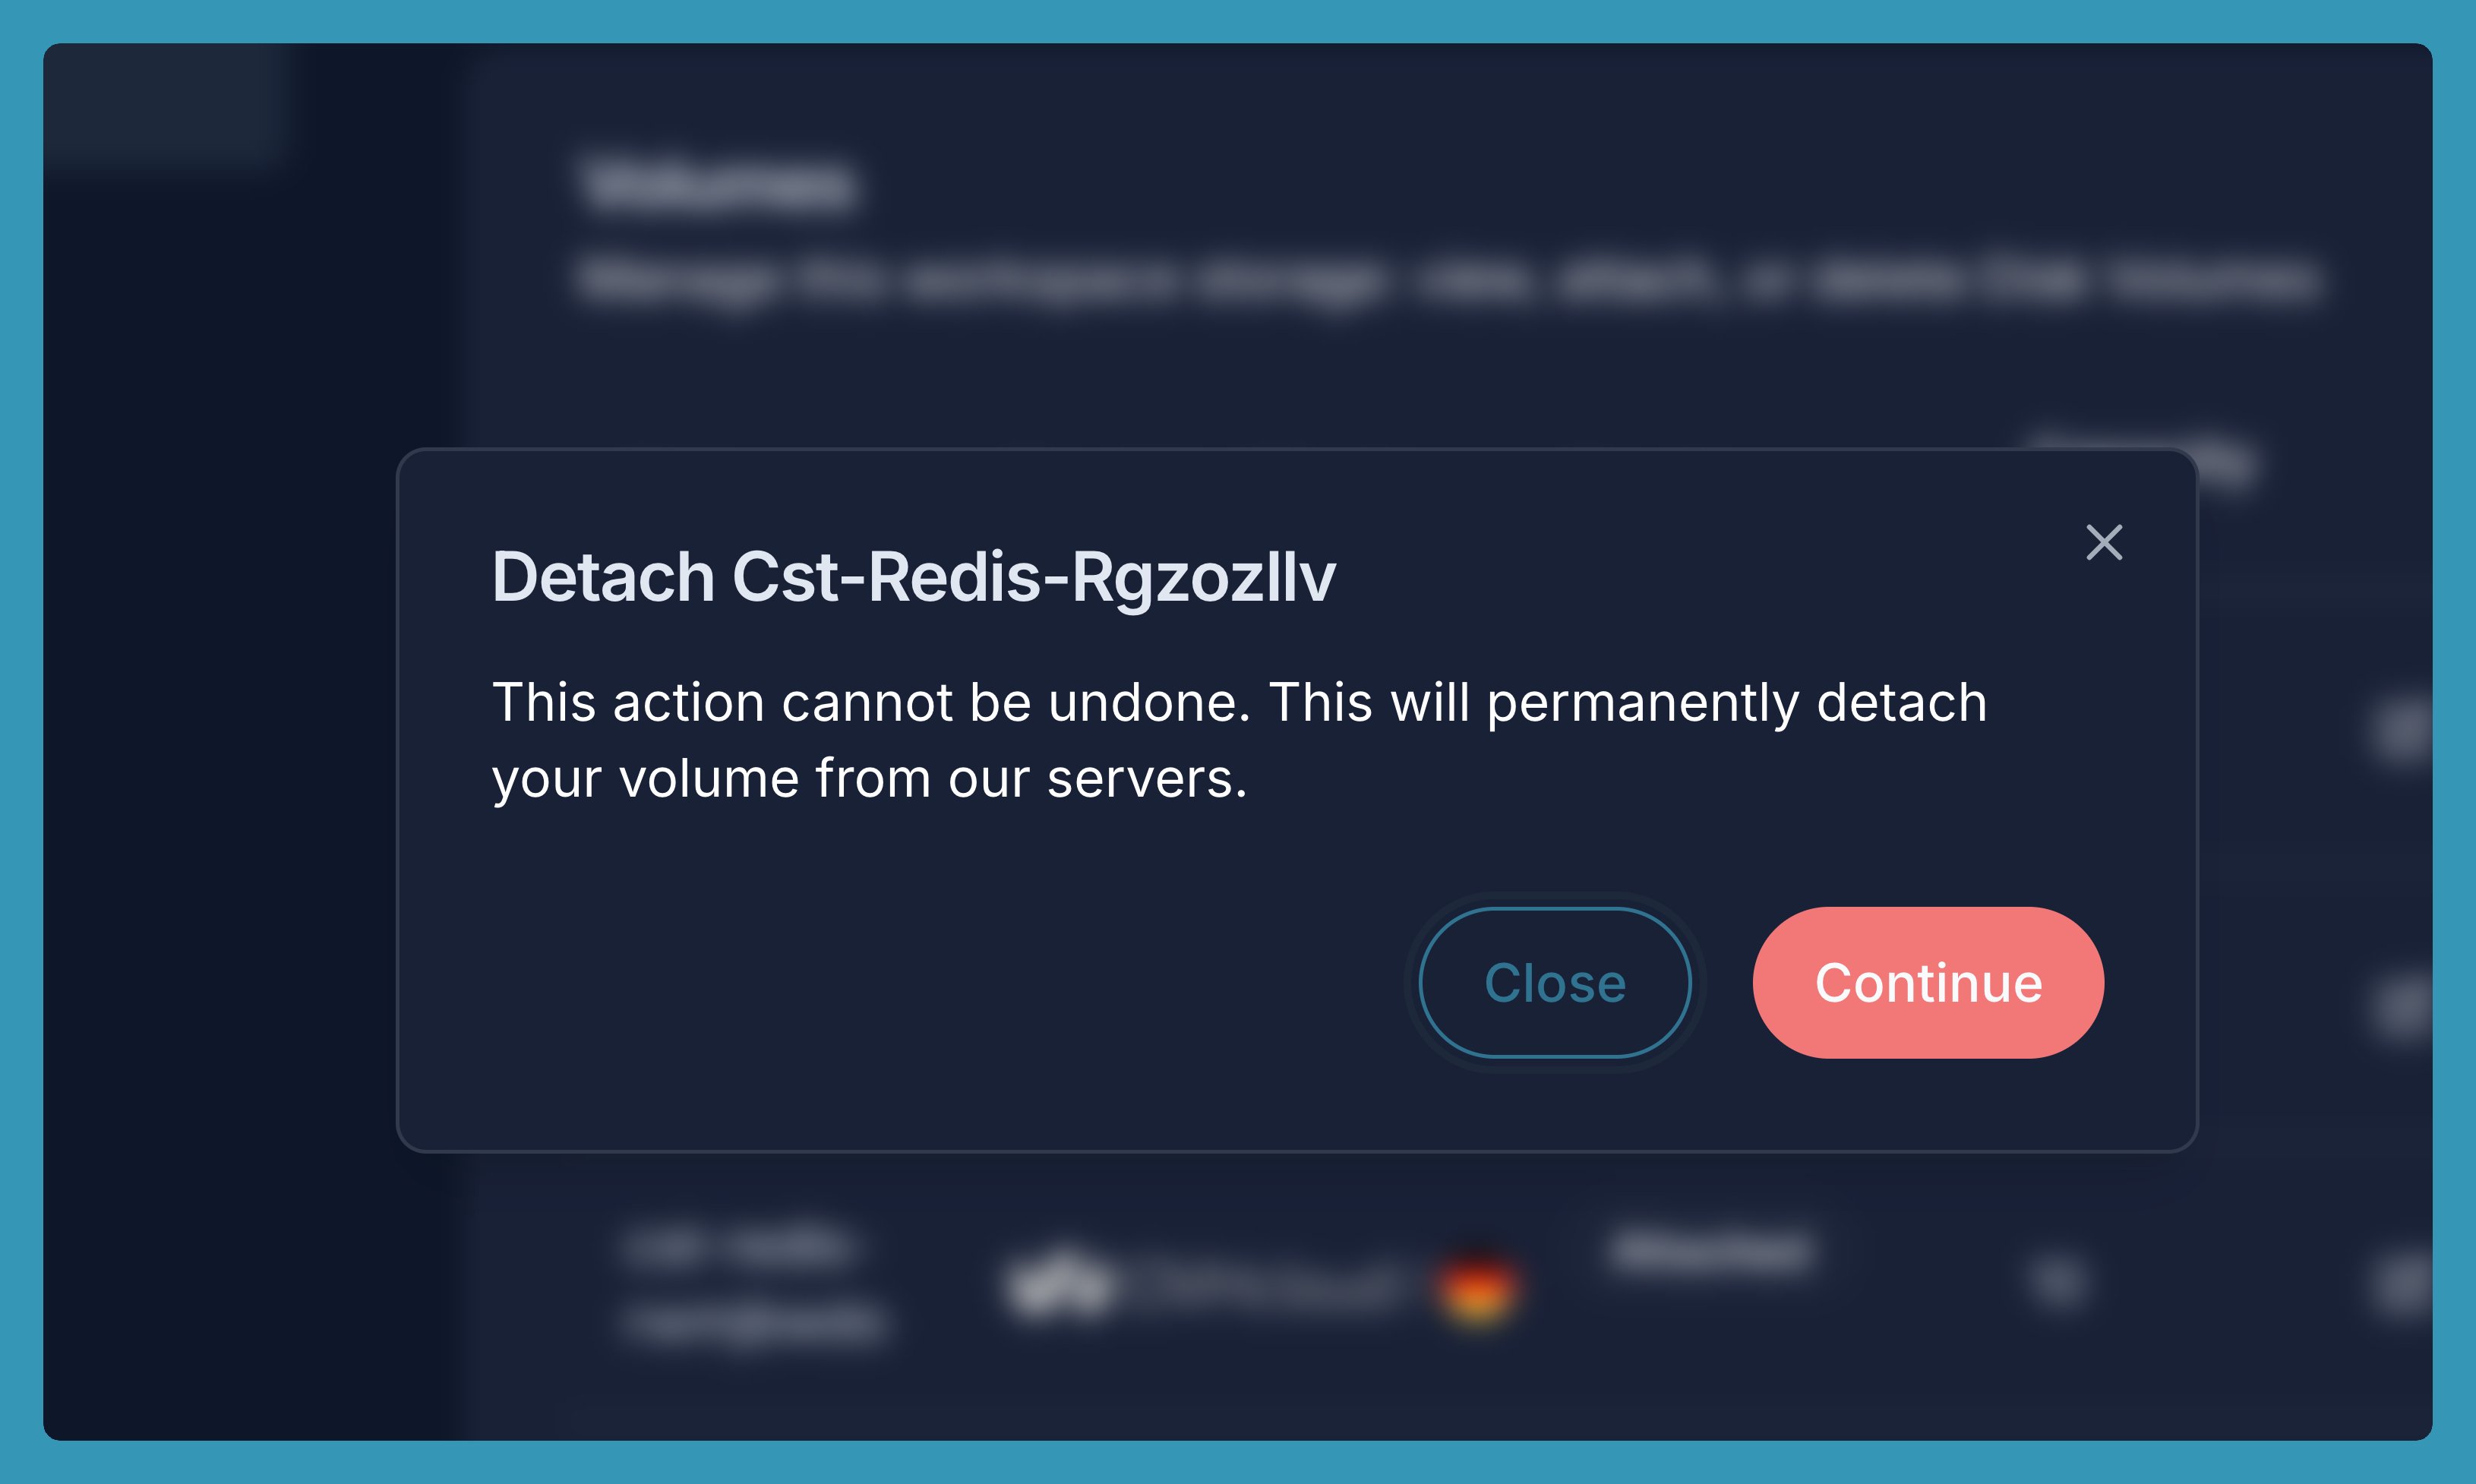
Effect of Editing:
- The volume will be disassociated from the service it was attached to.
- This allows you to attach the volume to another service or free up resources for other tasks.
Edit this file on GitHub